There are a couple things I forgot to talk about in the first post on planning for the Stardust Melodies crochet along – specifically: joining and bordering our afghan. These are two things you may want to have in mind early on. So let’s delve into the subjects and then I have a little tool for you to help you plan your yarn usage.
Joining
Thus far in my design career joining squares is a big thing. I do a lot of it. And I avoid sewing squares together at all costs, so I’m always looking for creative ways to crochet squares together. But it’s also something I don’t feel the need to re-imagine because there are already some really great joining methods and tutorials available. Therefore, for Stardust Melodies, I’m going to do as I always do and suggest some joins from other designers. All of these joins are very narrow, simple, and clean looking – I’m not recommending any fancy or lacy joins for this project.
SC Join as You Go from The Hat & I

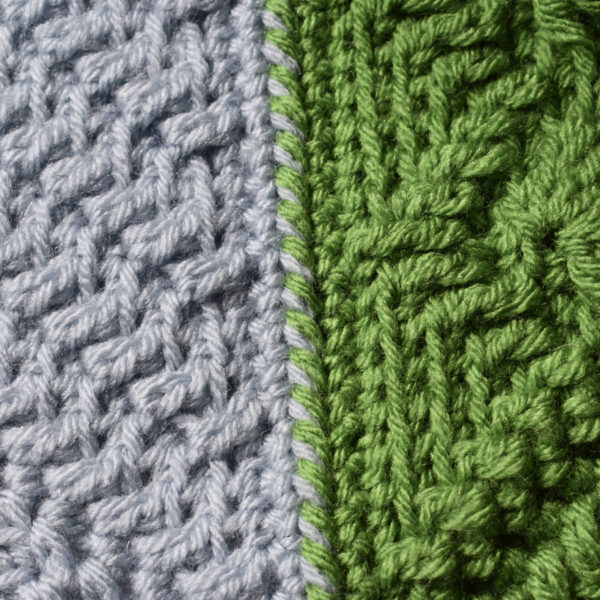
Single crochet join-as-you-go
At the top of my list, my all time favorite join is the SC Join as You Go method from The Hat & I. If you’ve done a Lotus Moon Tiles afghan you’re probably already familiar with this join. There are two things I want you be aware of before you choose this join.
- Because we’re working in a single color you need to have your square placement planned from the get-go so that you can use your last round of each square to literally join as you go. That’s not ideal for a mystery afghan, but if you think you can plan your color placement ahead of time you can use this join. Start with square 1 placed in the corner or center of your afghan and build from there.
- The line between your squares will be a bit toothy (see photo above). If you’re looking for a clean straight line between squares you’re either going to need to sew them together or use one of the next 2 joins.
In spite of the two above items, this is still my number one pick for a joining method because: it’s easy! Easier than you think. It’s quick. It doesn’t use any extra yarn. And it makes joining your squares feel like nothing. Also, if you want to avoid those two problems all together – go ahead and make all of your squares with the crochet along and use this join method at the end by adding another round of single crochet in a different color yarn and working the join as you go. OR, don’t do the final round of single crochet on each square as you crochet along with the event. Add it at the end when you’ve laid out your squares and decided on a layout. You’ll have additional ends to weave in this way, but these are all options you can choose from.
The pattern download for this join includes a photo tutorial and if you’re a member of the Polly Plum Pattern Posse on Facebook there are plenty of experienced sc-join-as-you-goers from the Lotus Moon CAL who will be able to help if you have any questions.
Zipper Join from Look at What I Made

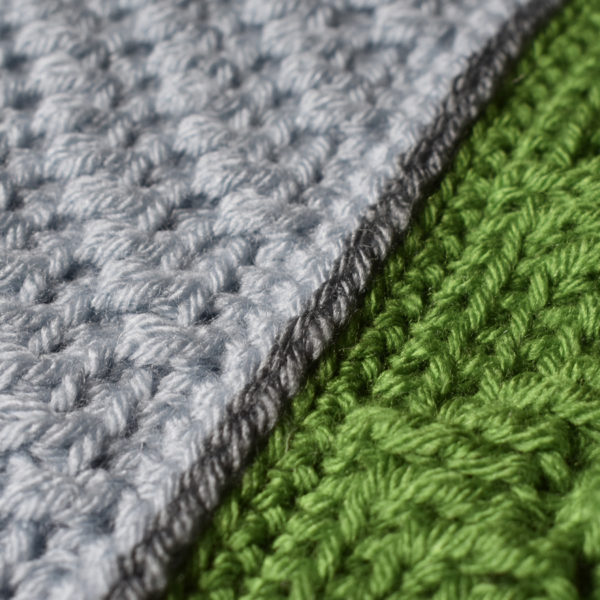
Zipper join
Next on my list is the Zipper join from Dedri Uys of lookatwhatimade.net. This method is great because it’s completely flat and extremely clean looking. It takes a bit of practice to get your tension just right, but once you’re in there you’ll likely fall in love. The results are so crisp and clean looking. It’s really stunning. This join will add just a smidge of your joining yarn color between your squares.
Single Crochet from Moogly

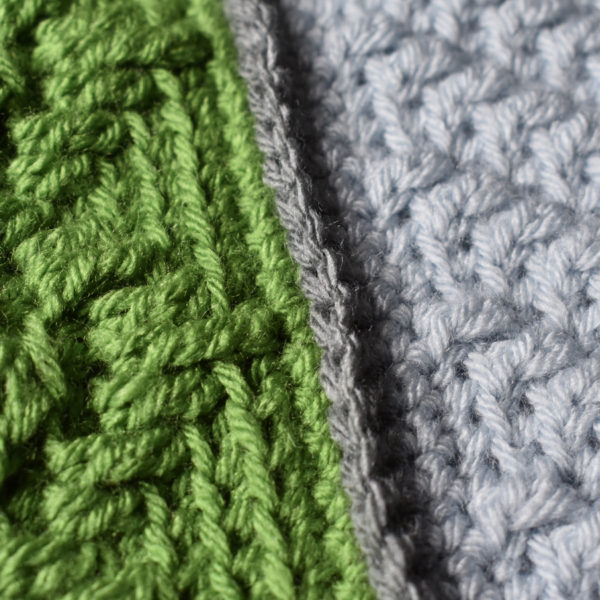
Single crochet join
This tutorial for a single crochet join from Tamara Kelly of Moogly is quick and easy and perfect for our Stardust Melodies squares. (There’s also a tutorial for a slip stitch in this post but here I’m going to focus on the single crochet join because that, specifically, is my recommendation for this project.) I made the samples of the join methods you see in the photos after I wrote this post and in that time I fell in love with the single crochet join, so I had to come back and tell you why. This join is so easy, so fast, and looks and feels great! I’ve noticed in the past that some people complain about the ridge this join creates, but I found it looks so at home with these solid colored squares. It’s springy and you don’t have to worry about your tension or hook size. You can just jump in and join your squares and you’ll be done before you know it.
Border

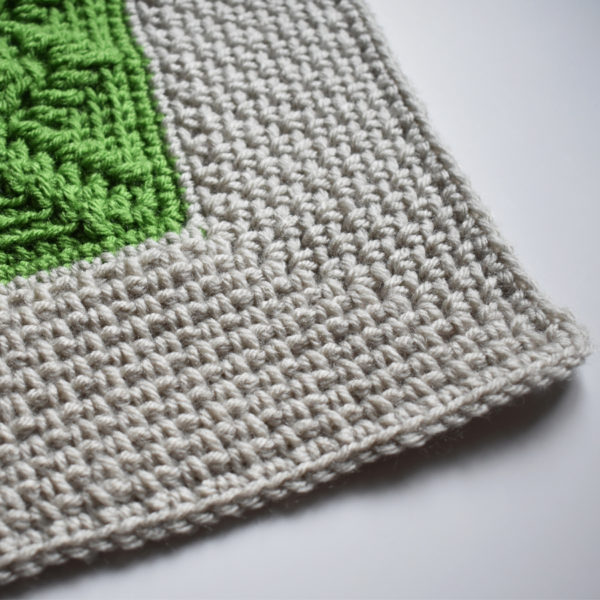
Simple moss stitch border
Yes, there will be instructions for the border. No, the yarn estimates in the previous post did not include yarn for a border. So sorry!! That was completely my fault for leaving it out. See the next section of this post to find out how much yarn you’ll need.
We’ll have two options for a border:
- A free option! I’m going to recommend a basic moss stitch border and I will provide instructions for this at the end of the event. I have planned it to be pretty wide but you can easily make adjustments to your own preference. Yarn estimates, however, will be based on a 3.5 inch (in Aran) border.
- An eBook exclusive border – an original design just for our afghan similar in size to the free moss stitch border.
Both border options leave you with a clean straight edge. This is very intentional so that you can add a fancy edge if you want or keep those lines clean and straight and leave it just the way it is. Just keep in mind that any fancy edge you add will not be accounted for in the below yardage estimates and you’ll have to do that estimating yourself.
Yarn Calculator
Now, here’s the kicker! I’ve put together a little calculator for you to estimate your yarn usage and afghan size. All you need to know is the layout of squares you want to make. For example, if you’re making all 24 squares once each you probably want to do a 4 by 6 square layout. Enter 4 in the first field and 6 in the second. Then choose your yarn weight, your preferred join method, and a which border you plan to use, and then watch the magic happen. Experiment with different layouts until you find one that works for you.
Please, please, please, be aware that these are ESTIMATES. The numbers are rounded up because it’s always safer to have more yarn than you need than not enough. Your own personal crochet tension, hook size, and chosen yarn will all have an effect on the exact amount you use.
Click here to go to the calculator – just scroll down past the pictures of the upcoming patterns.
We’re getting close to the start day of the crochet along, so now’s the time to get your questions in! I’ll try to be as available to answer them as I possibly can be.

Please check out the Patterns page here on Every Trick on the Hook or my Ravelry store to see more of my patterns, both free and paid.
The best way to keep up with my goings-on is to follow Every Trick on the Hook on Facebook. You can also message me there, post on the wall, and follow my posts for the latest news.
If you’re looking for a more interactive Facebook experience, join the Polly Plum Pattern Posse Facebook group. We’re a fun and supportive group. Really! There’s so much help there that chances are your question will be answered by someone before I even see it. It’s the best place to go with a question. It’s also a great place to share your Polly Plum makes and see what others are making.
If Facebook isn’t your thing you can also join the Ravelry group – Polly’s Place or follow @polly_plum_crochet on Instagram.
