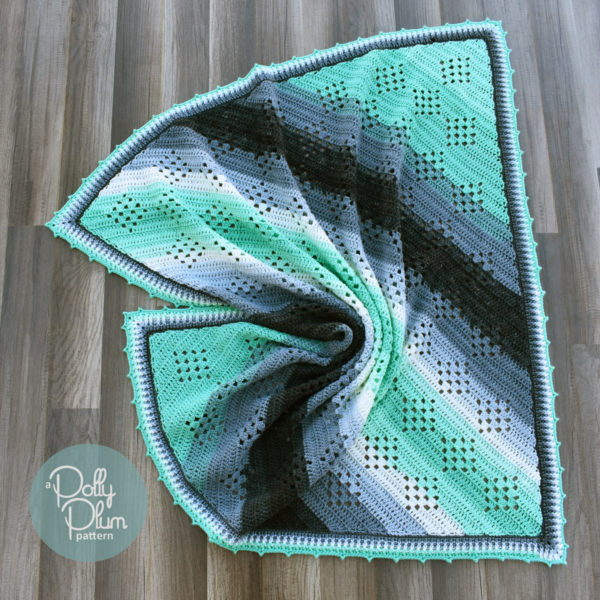
In my last post I talked about the challenges of picking a pattern for self-striping yarns, and heck, the challenges of designing for them. In this post, I’d like to introduce you to another solution to the cake-yarn dilemma – a new baby blanket crochet pattern called Granny in the Sky with Diamonds.
Click here to go straight to the pattern page on Ravelry.
Any fancy type of yarn that that does the work for you is naturally going to look better in a simpler stitch pattern. In this case, we have yarn that does the color changing work for us. We don’t have a lot of control over the color changes unless we want to do a lot of yarn snipping and rearranging, but that defeats the purpose, doesn’t it? And, well, let’s be honest… we don’t really want to make the same basic patterns over and over again, do we? That gets old fast.
So let’s try something NEW. We still want to keep it simple so that the pattern isn’t competing with the yarn, but we don’t want to be bored either. Enter C2C.
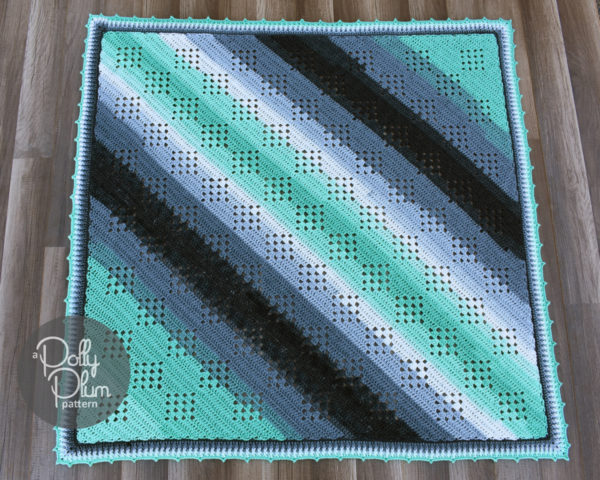
I never got into the corner-to-corner craze that swept the crochet world not too long ago. At that time I was more captivated by increasingly complex patterns that kept me on my toes and involved lots of crazy stitches and color changes. And, though I’m still not interested in the traditional block stitch associated with C2C, I can’t seem to resist the idea of working on the bias. (See my recent C2C moss stitch pattern.) I find especially exciting for self-striping yarns. Diagonal lines are exciting to the eye and they create such pretty effects when they’re moved around and used.
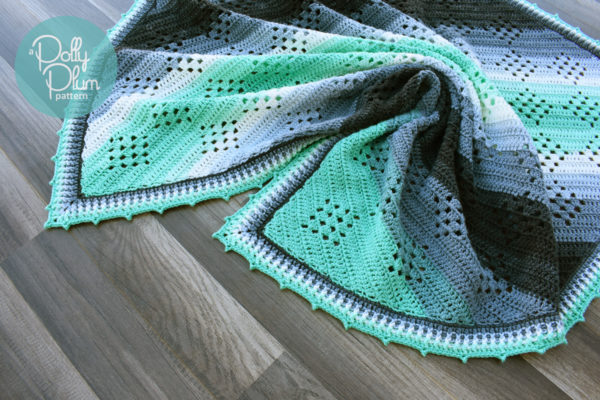
But working on the bias isn’t quite enough to keep me interested. Enter Granny.
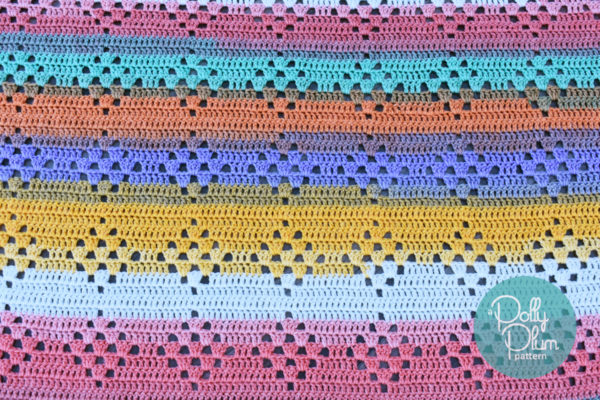
I’ve recently been exploring more traditional crochet, like granny stitch. In Granny in the Sky with Diamonds, some light sections of granny stitch make diamond shapes with the negative space and add a little interest both to the final product and to your stitching experience. It’s simple. It’s sweet. And, if I do say so myself, it’s rather pleasant to stitch.
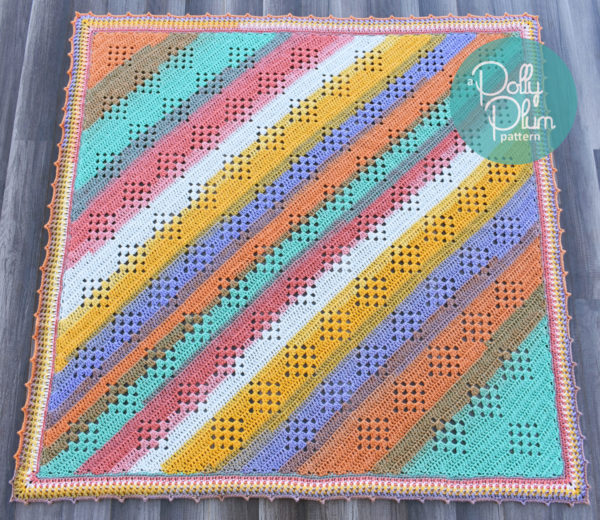
Once the blanket body was done, I quickly realized that the border was going to be a challenge. Self-striping yarns can lead to really fabulous or really tragic results when worked around as a border. They can be unpredictable and look far too busy and detract from the pattern. The solution wasn’t exactly obvious. Instead of keeping things simple, the solution was to take them up a few notches.
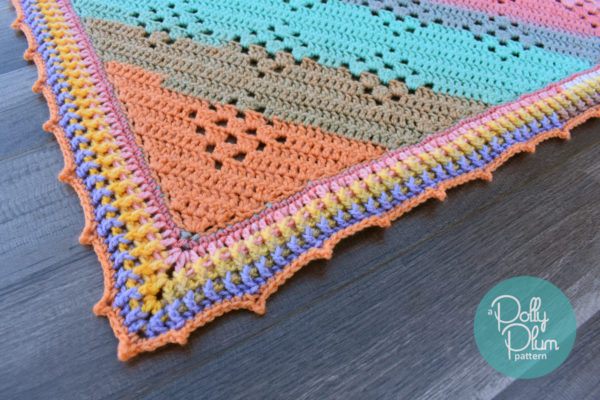
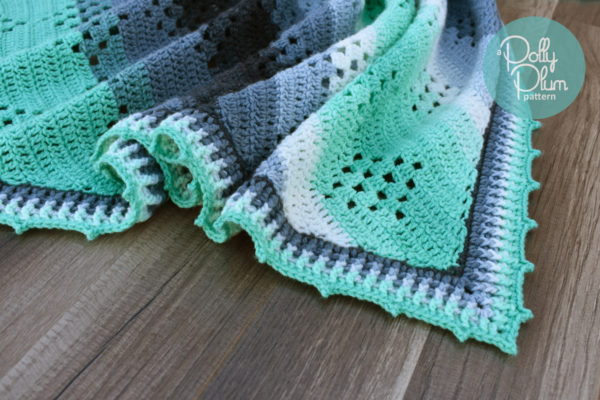
The border of Granny in the Sky with Diamonds uses post stitches to blend the colors even more, break them up and disperse them. Instead of slow, easy color changes, you have lots of little bits of color mixed with the other colors. There is still the semblance of long narrow stripes, but they are so broken, they don’t resemble the stripes in the body of the blanket at all. This turned out to be perfect and just want the blanket needed.
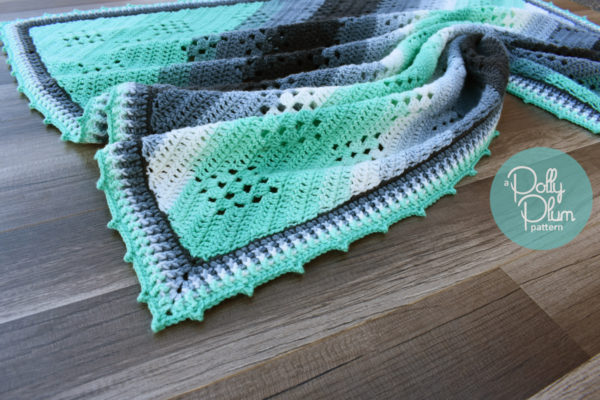
Not only does the border work well with the more intense colorways of the yarn and the subtler ones alike, it’s proven to be a great back up plan. You see, self-striping yarn requires just a little bit of color planning work. You may need to cut your yarn to get a stripe sequence in the correct order. I always recommend planning this when you’re choosing cakes at the store, but for those of us that order yarn online, we don’t have control over which cakes we get. We just hope and pray they’re from the same dye lot. So, sometimes, it requires a little extra snipping and reordering of yarn to get color sequences in order.
That’s okay! The border disperses the colors so well, you can gather any snipped scraps from the blanket body and use them in the border. No yarn need be wasted!
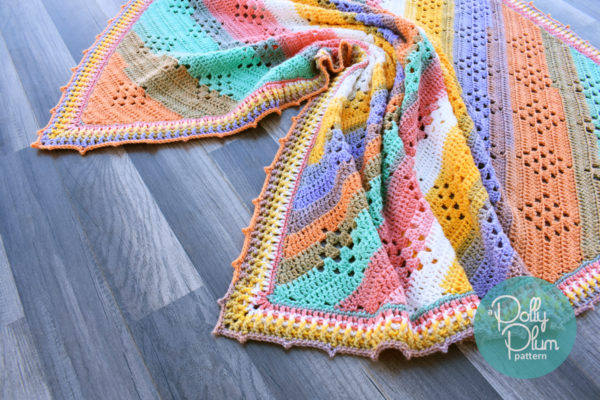
Furthermore, the border is actually quite a bit heavier than the blanket itself. That’s not saying much, really. The blanket is quite light and airy. But the border is dense and full of texture. I was really worried about that at first, but when I pushed myself to try it anyway I found it’s perfect for a light blanket. It’s just enough to anchor the body and frame it. It’s fabulous to touch and play with, and I imagine tiny hands will love grabbing onto it.
There you have it. My latest solution to what to do with your yarn cakes. Below you can find the technical details about these two baby blankets and information on how you can get the pattern.
I hope you’ll give Granny in the Sky with Diamonds a try. If you do, please, let me know what you think! I can’t wait to see what you make.

SALE! Right now get Granny in the Sky with Diamonds pattern 33% off to celebrate its release. Use coupon code: diamonds
Click here to get the pattern on Ravelry.
Or, click here to have the pattern and coupon code automatically entered into your Ravelry cart.
Click here to get the pattern on Etsy.
Offer valid until midnight PST, December 3rd, 2017.
Both blankets were made with 3 cakes of Lion Brand Mandala yarn.
This one was made with the colorway Genie. I used one cake from the center out and the next from the outside in for the body. It takes a little more than 2 cakes to make the body and almost all of the remaining yarn goes to the border.
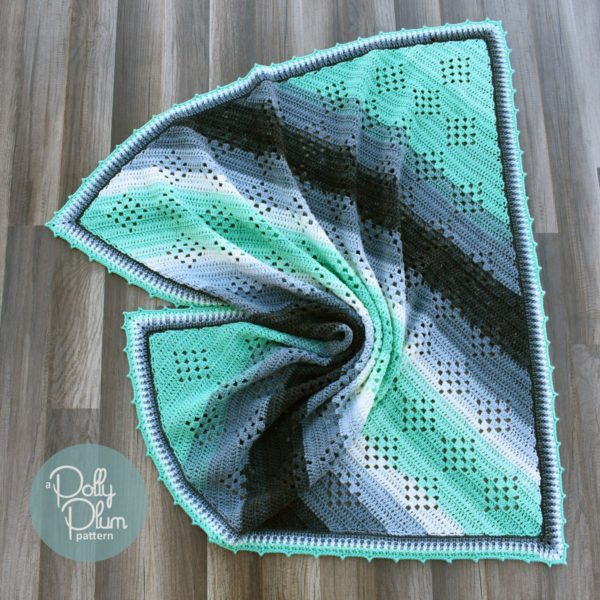
This one with the colorway Pixie and I used all 3 cakes from the center pull, only cutting where I needed the color sequence to stay in order.

Crochet Terms: US
Skill Level: Intermediate
Finished Size: 44 inch square
Gauge: 16 dc and 8 rows is about 4 inches
Yarn: 3 cakes of Lion Brand Mandala or about 1800 yards of DK weight yarn
Hook Size: 4mm & 4.5mm
Additional Materials: 4 stitch markers, yarn needle to weave ends, pins, blocking wires (optional), fabric steamer (optional), blocking surface
Alternate yarn suggestions: Stylecraft Batik Swirl or any other DK weight yarn.
Please check out the Patterns page here on Every Trick on the Hook or my Ravelry store to see more of my patterns, both free and paid.
The best way to keep up with my goings-on is to follow Every Trick on the Hook on Facebook. You can also message me there, post on the wall, and follow my posts for the latest news.
If you’re looking for a more interactive Facebook experience, join the Polly Plum Pattern Posse Facebook group. We’re a fun and supportive group. Really! There’s so much help there that chances are your question will be answered by someone before I even see it. It’s the best place to go with a question. It’s also a great place to share your Polly Plum makes and see what others are making.
If Facebook isn’t your thing you can also join the Ravelry group – Polly’s Place or follow @polly_plum_crochet on Instagram

I’m so excited! I have to tell you something funny. I took a quick look through the pattern and I thought that the top of the pattern said, “Blocking Party!” when you get to the blocking part. I thought, “How cool! Polly knows how to make blocking fun!”
Thanks for yet another creative, fun and unique crochet pattern! I can’t wait to try it once I’m done finishing all of my current WIPs!
Lol! That’s funny, and I would totally host a blocking party. I actually love blocking my work and making it look perfect and pretty. It’s one of my favorite parts of the process.
Does the pattern include directions for making the blanket larger? I love this pattern, but I don’t have any babies in my life. I’d love to make a larger version as a throw for my couch.
The pattern is super easy to make bigger as a square – all you do is make more repeats, and in the final round of the border you may need to adjust the placement of the picots. I have plans to add detailed instructions for a rectangle as soon as I can, but I don’t want to make any promises quite yet.
HI, I’m at row 57 first decrease row, instructions say to work end-dec over last 3 st turn, I’m not an experience crocheter so am confused, I don’t see instructions for end -dec can you please help.
Thanks
Kristi Clark
Hi Kristi – Sorry I missed you message. I hope you found the instructions for the end-dec stitch, but in case not, they are in the special stitches section of the pattern on page 3.
Hello there! I have to say I bought this pattern and absolutely love it! I am having issues with rows 56 & 57. More so, row 57. Can you explain the crazy corners a little bit?
Hi Laurie! Of course! The corners create sort of a little triangle shape – just a little something to stick out and make the square square so that you can have a center row rather than the increase rows leading straight into the decrease rows if that makes more sense – and into the center of that triangle goes your stitch marker which you will use when you get to the border. In row 57 you will not work into those crazy corners at all. Like I said, they just stick out and make the corners pointy so that when you put the border on the whole piece is nice and square. If you don’t think you’re getting the right, I wouldn’t worry too much and just make sure and block the corners out well enough. When you get the border on it should straighten everything out nicely.
When I. Do the decrease in row 57, it says to do the decrease in three stitches, does this mean I am losing three stitches on each side? I’m trying to make sure I don’t short myself a stitch or two
It means you’re taking those 3 stitches and turning them into one. So each row you’ll lose 4 stitches per row (2 in the beginning, 2 at the end) which corresponds to the 4 you gain each row in the increase rows. Watch the loops of the decrease stitches carefully to make sure you’re working into the right ones, especially when working an end-dec over a beg-dec.
Hi!
I’m still at the dish rag making phase of learning how to crochet. I’m 60 and have been crocheting about a month, maybe a bit longer. I have painful arthritis and was trying to find something I could do year around to keep my hands useable…thought crochet would be just the thing..❤️
Your work is utterly gorgeous and a wonderful thing to aspire to!
Thank you so much for being easy to follow…I’ve got a little more practice to do so I can make my edges, straight ..lol..but I’m loving this hobby.
God Bless and thank you again for sharing your amazing talent honey!
Thank you so much, Betsy! I’m glad you’re enjoying your new hobby, and welcome to the wide world of crochet!
Hi, love the pattern. Am slowly working up a blanket for a very preemie cousin. Is there a video tutorial? I bought the pattern Monday on Etsy and thought there was a mention of a video by your friends.
Thanks,
Camila K.
Hello, Polly! I finally have my yarn and have read through the pattern. I had an “oh, no” moment when I got to the blocking parts. I avoid blocking; really don’t enjoy the process and don’t have the equipment. Will the results be terrible if I skip the blocking? How crucial is it?
I want to add that I am a great admirer of your beautiful work. I have thoroughly enjoyed making several of your deliciously intricate squares! My all time favorite is the 12” version of Blizzard Warning! Last winter I made 3 afghans of 4X5 squares for family. If I do say so myself, they were gorgeous!
Hello, Polly! I finally have my yarn and have read through the pattern. I had an “oh, no” moment when I got to the blocking parts. I avoid blocking; really don’t enjoy the process and don’t have the equipment. Will the results be terrible if I skip the blocking? How crucial is it?
I want to add that I am a great admirer of your beautiful work. I have thoroughly enjoyed making several of your deliciously intricate squares! My all time favorite is the 12” version of Blizzard Warning! Last winter I made 3 afghans of
Do you have a video regarding the Granny in the Sky with Diamonds blanket? I want to make an adult size blanket and I’m not quite understanding the instructions when changing it to a rectangle and the decreasing rows. A video would be very helpful for me to get through this part. Your help is greatly appreciate. I really like this pattern.
Thank you.
Joyce