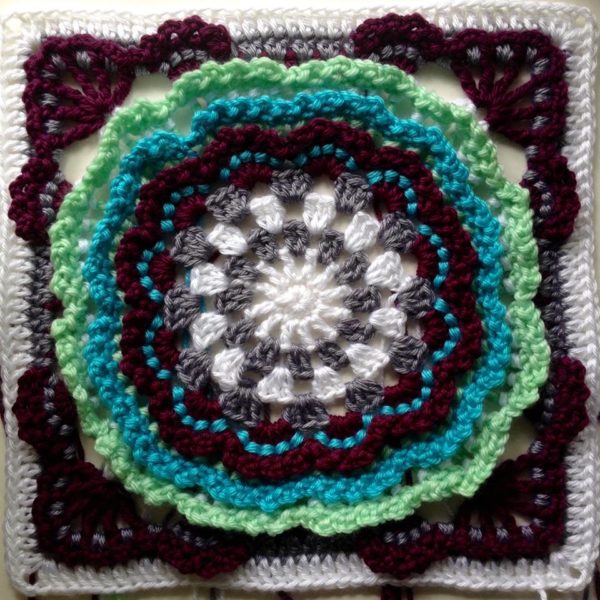
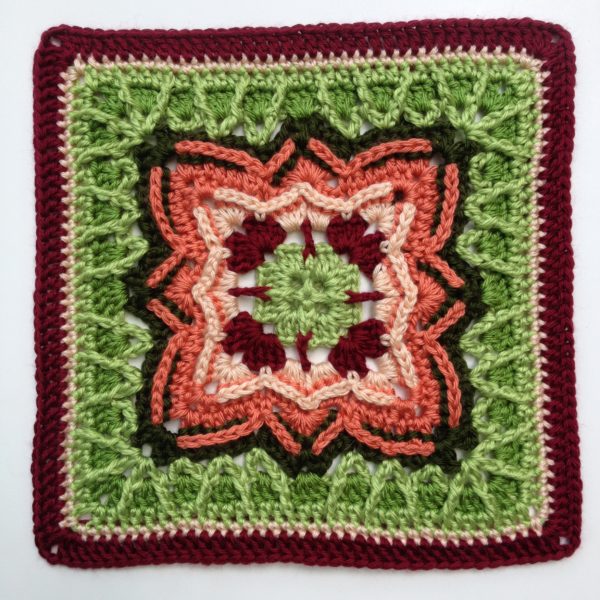
It all started a few months less than 3 years ago with this square:
Typically, when I design I prefer to just let it happen. I don’t often have much of a plan in mind. Or, at least I didn’t back then. So I sat down and worked up the very simple middle of this square. Looking at it I knew I wanted it to go from simple to extremely frilly. When I was done it reminded me of a very specific scene in a favorite TV show. That would be the scene where the character Kaylee shows up to a very fancy ball in this over-the-top ruffled dress that she happens to ADORE in the show “Firefly,” episode 6, called Shindig.
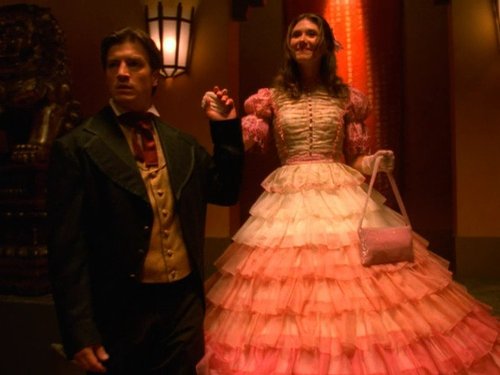
Kaylee’s amazing dress
So, I knew the square would have to be called Kaylee. It was simple. And that was that. End of story. Done.
About a month later I designed this square and it was clear to me that, since I already had a Kaylee from the show, this should be Inara.
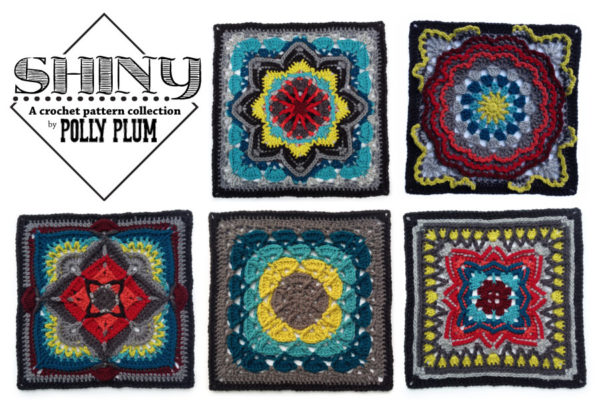
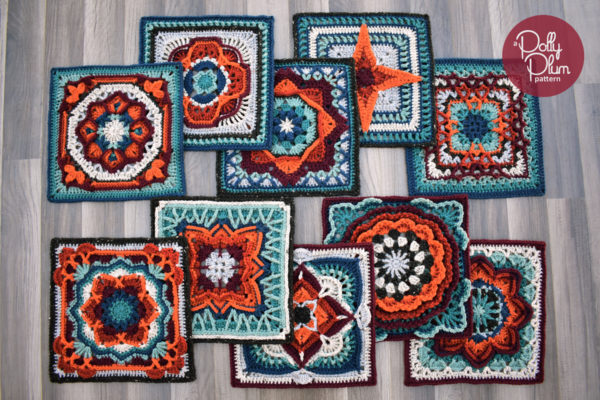
After that it became clear I should do the other two female characters and for good measure I created a stitch pattern (drawn from the outer rounds of Zoe) and named it Serenity, after the spaceship in the show. And thus was born the first Shiny collection.
And that was it. I was done. I really was this time. I had no intention whatsoever of adding to the collection.
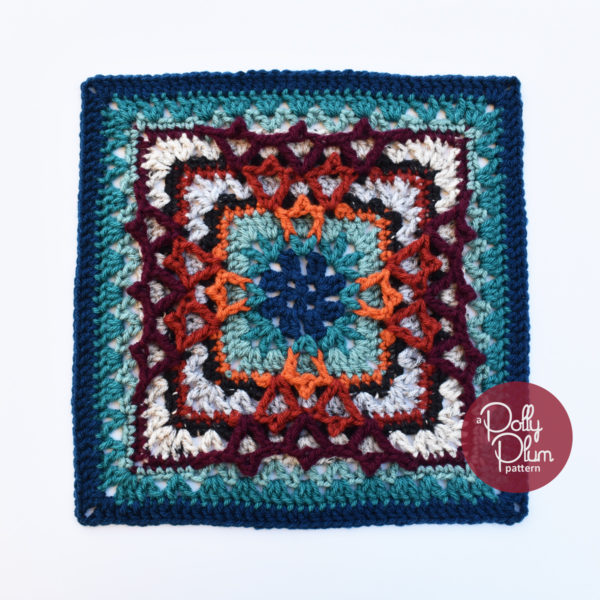
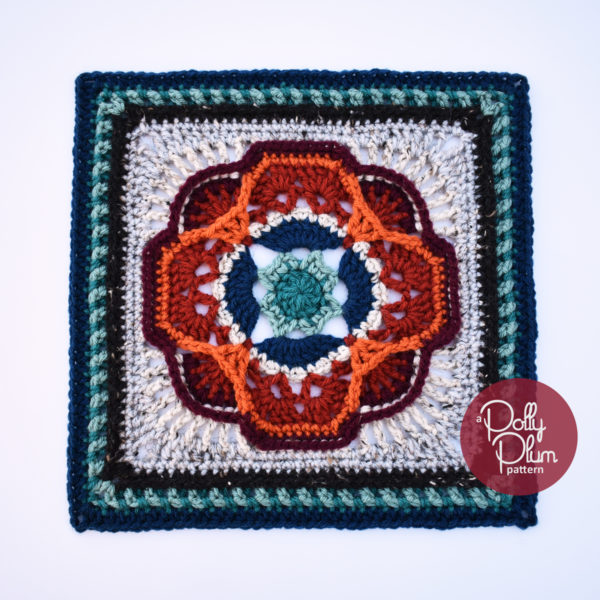
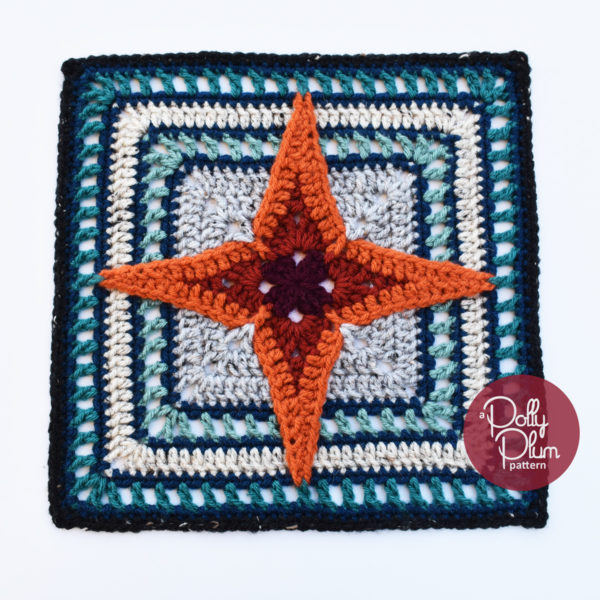
And then came the requests… I received lots of messages asking if I ever intended to make the male characters. I think I even replied “no” to the first several requests. But when they kept coming I started thinking about it. Eventually, as I was designing some new squares I noticed that this square would make a great Shepherd Book:
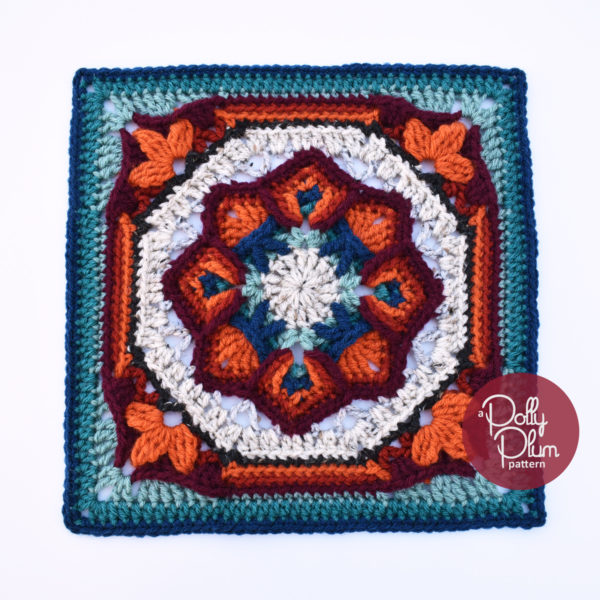
And that this one would make a good Simon:
They weren’t quite like they are now. They went through several iterations before I had them just the way I wanted them. But when I had them it was clear they needed to become part of a set. So I began to pursue Shiny 2.
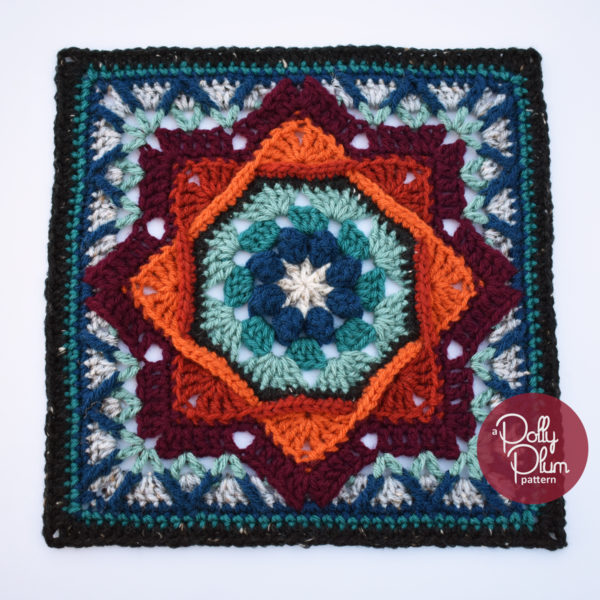
That was over a year ago and the first versions of these two squares were months before that. At first I pushed really hard to get the next 3 squares designed, but that doesn’t always work out so well. I came up with Jayne almost right off the bat:
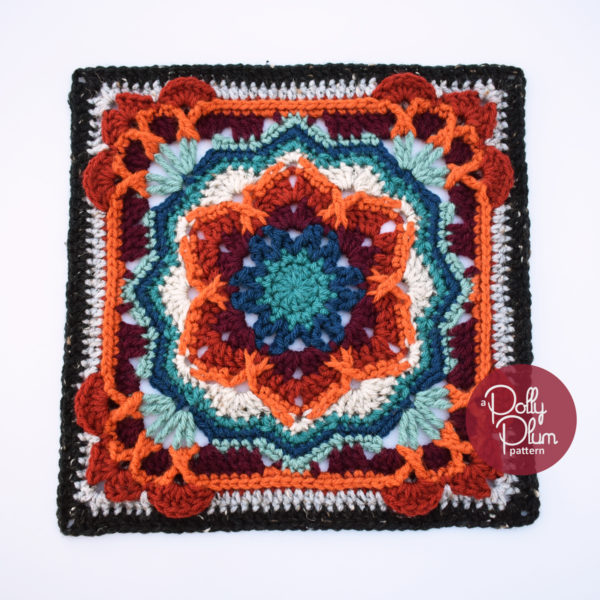
I also came up with a Malcolm square that I thought would suffice, but never really made me happy. I even had the pattern tested because I didn’t want to redesign it. I sat on it. I was also stuck on the Hoban (aka Wash) square. I sat on them both for a long, long time. It all finally came together when I admitted to myself that I’d have to redesign Malcolm. I completely disassembled the square and started from it’s Cap’n Tightpants center using some of the original rounds as inspiration.
Apparently that was just the motivation I needed to get going on Hoban. I’d been feeling a lot of pressure to make Hoban work for the famous ‘leaf on the wind’ scene.
But after some very good advice from a friend to focus more on the concept of the character rather than a single line the character says, I finally was able to move on and create Hoban. (In case you were wondering, Wash’s real name is Hoban Washburn. I decided Wash would be a really weird name for a square for those who hadn’t seen the show and Hoban was at least very different.)
Somewhere in all of this another square emerged. I redesigned it a few times. I had it tested. It wasn’t great. I redesigned it again. I pegged it for several other projects but it was never quite right for any of them. It was a bit elusive. A bit mysterious. But it fit so well with the Shiny collection. It had to be Saffron, aka Bridget, aka Our Mrs. Reynolds.
And that is the very quick version of how the Shiny collection came to be. Add in a bunch of stress, some hair-pulling-out, maybe a few tears, and you’ve got the complete story. Or at least the story the way I remember it.
I’m very happy to say I planned ahead with the second collection to be sure there were enough patterns to create an entire afghan AND I even made sure to stick to a palette and make an afghan of my own. And I did! And I’m going to tell you all about it, if you’re interested, in the next section. If you’re not so interested in making one quite like mine, then I’ll leave you here and thank you for reading.
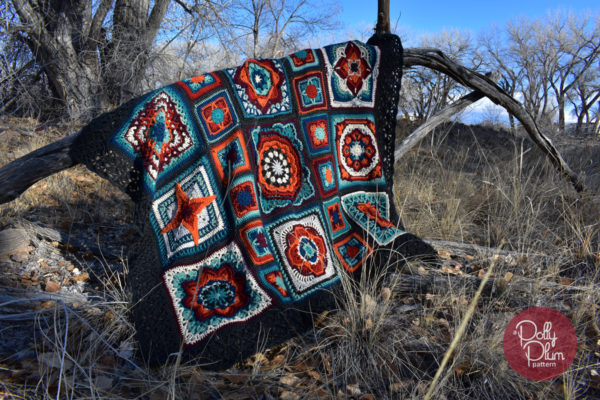
The Shiny collection is available as two ebooks and one bonus pattern. Buy Shiny 1 and 2 and get the bonus pattern, Saffron, free (no code needed). Click here to get the entire collection on Ravelry.
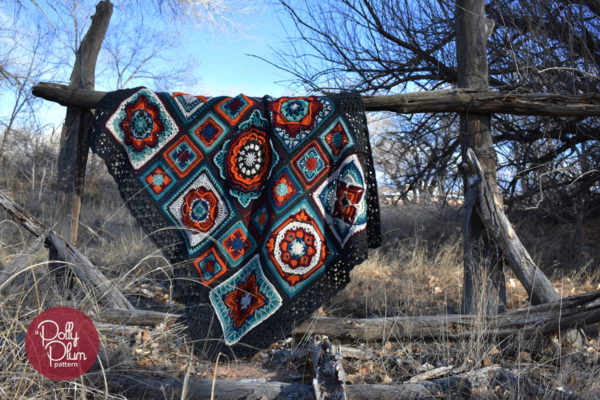
The You Can’t Take the Sky from Me afghan:
First off, I’d like to point out that there are 10 afghan blocks in the entire Shiny collection, but 9 is a much more useful number when making an afghan. This is on purpose. I figured there may be a square in the collection that you’re just not too fond of so you can easily trade it out for the bonus square.
Next, I’d like to point out that all of the squares finish with an even 40 stitches per side plus chain 2 corners. The smaller squares finish with 19 stitches per side plus chain 2 corners. Also on purpose to make joining super easy – when you match two of the 6 inch square up to a 12 inch square the ch2 corners on the inside make the 20th stitch to get the full 40 and the ch2 corners on the outside match up to the ch2 corners of the larger square.
All of the squares end with a solid round of sc, hdc, or dc. Because everyone crochets a little bit differently your squares may not all come out exactly the same size. Use this last round to your advantage – change it between sc/hdc/dc as needed to get all of your squares to be as close as possible to the same size. Just be aware of stitch counts in corners if you do. You may even want to wait to add the last round on each square until they are all made and then measure them all before adding that last round. I find with Aran weight yarn a round of sc gives me about another half inch, a round of hdc three quarters of an inch, and a round of dc gives me a full inch.
When your squares are close to the same size, block them all to be exactly the same size. I steam block all of my acrylic yarn makes to get a permanent and perfect final product. Click here for a tutorial.
For the smaller squares I used the Cap’n Tightpants pattern found free here on everytrickonthehook.com. I made 12 total to fit in two rows of 6 between my rows of larger squares.
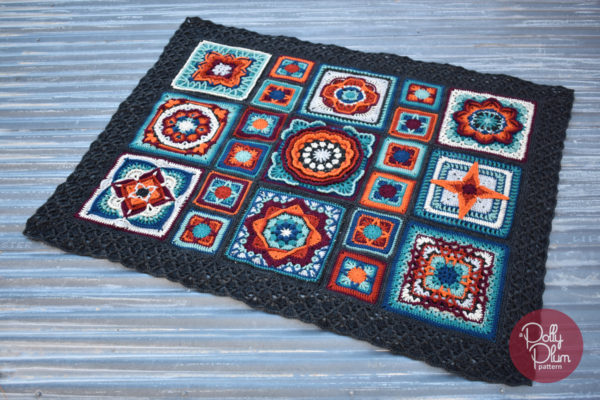
I joined my squares according to the layout below using the sc-join-as-you-go-method (see the note about stitch counts above to learn how joining the smaller squares to the larger squares works). This is also the point where I upped my hook to a 6mm to make sure there wouldn’t be any tension issues in my join.
After everything was joined up, using my 6mm hook, I put a round of hdc on the whole afghan to get ready for my Serenity border. The only trick was that the stitch counts needed to be manipulated a little first. To use Serenity as a border you need a base stitch count of 7x + 1 plus chain 2 corners. So here’s how I handled it:
- I made 1 hdc in every stitch as normal
- In the corners I did (2hdc, ch2, 2hdc)
- On the short sides there are two join points – I worked 2 stitches at each join, spacing them by placing them into the ch2 corners of the join
- On the long sides there are 4 join points – I worked 2 stitches into the first join point, spacing them by placing them into the ch2 corners of the join; I worked 3 stitches into the next 3 join points, spacing them by placing a stitch into the first ch2 corner, a stitch in the center of the join, and a stitch in the next chain 2 corner
That gave me a stitch count of 134 on the short sides and 183 on the long sides – perfect for a base round for a Serenity border.
Still with my 6mm hook, I followed the border instructions for Serenity for rounds 1 and 2, then, as instructed in the pattern, continued with the Serenity pattern instructions for round 6. Then I repeated rounds 5 and 6 of the Serenity pattern twice more and finished with the scalloped edge instructions.
To finish up I hit the joins and border with a bit more steam and used my blocking wires to stretch the whole thing out. Again, see this post about steam blocking for a tutorial.
Yarn Info:
I did a bit of a shoddy job keeping track of my yarn for this project. I made a couple squares I wasn’t happy with and ditched them. I also made the bonus square. That was all extra yarn that wouldn’t be needed if you want to replicate my afghan. But I at least did keep track of how many balls I used of each color and started with fresh ones each time. So here’s my estimates with plenty of wiggle room in them.
All yarn used is Lion Brand Vanna’s Choice. For the squares:
- Color A – Terracotta, 2 balls
- Color B – Brick, 2 balls
- Color C – Burgundy, 2 balls
- Color D – Sage, 2 balls
- Color E – Peacock, 2 balls
- Color F – Midnight Blue, 2 balls
- Color G – Grey Marble, 2 balls
- Color H – Oatmeal, 2 balls
- Color J – Obsidian, 1 ball (I couldn’t find any more of this color so I kept it down to just the 1 ball. If you can’t find it, Dark Grey Heather is a good substitute)
For the join and the border:
- Dark Grey Heather, 6 balls (I barely broke into the 6th ball, if you sub this color for Obsidian, you probably will only need 6 total, not 7)
Click here to download a PDF of the complete color placement and layout of my afghan.
Final Size:
After blocking, joining, bordering, and blocking again, my afghan is roughly 48 x 60 inches. A great size for the end of the bed or back of the couch.
I think that about covers things. If I’ve left anything out, please feel free to let me know in the comments. I hope you love making your own Shiny afghan or just incorporating the patterns into your sampler afghans.
Crochet on!

Please check out the Patterns page here on Every Trick on the Hook or my Ravelry store to see more of my patterns, both free and paid.
The best way to keep up with my goings-on is to follow Every Trick on the Hook on Facebook. You can also message me there, post on the wall, and follow my posts for the latest news.
If you’re looking for a more interactive Facebook experience, join the Polly Plum Pattern Posse Facebook group. We’re a fun and supportive group. Really! There’s so much help there that chances are your question will be answered by someone before I even see it. It’s the best place to go with a question. It’s also a great place to share your Polly Plum makes and see what others are making.
If Facebook isn’t your thing you can also join the Ravelry group – Polly’s Place or follow @polly_plum_crochet on Instagram

Wow, I like that, Polly. Nice to run across a fellow Firefly fan! Have to admit when I saw the subject title it made me smile. Stay shiny!
Seriously, I would just buy this based solely on the fact it’s based on the Firefly series.
Just that.
It’s amazingly lovely all the same