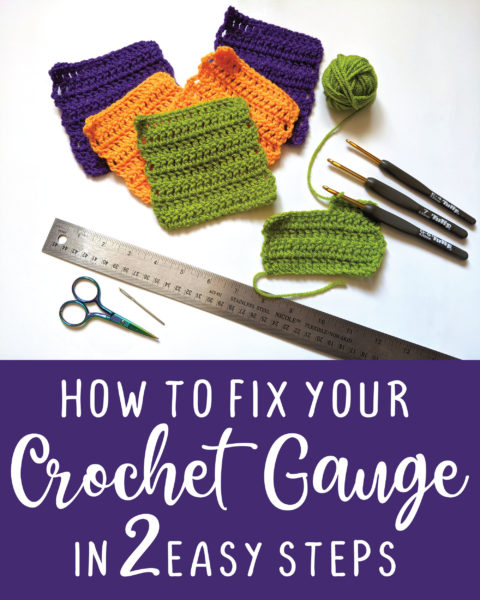
Or: How to get your crochet gauge right in two easy steps.
The video tutorial covers it all, but for those of you who prefer reading to listening, the steps are all written out below.
If you’re already familiar with how to make a crochet gauge swatch go ahead and scroll down to the two steps.
If you’ve never made one before, let’s quickly go over how to do it.
How to make a gauge swatch
Usually a crochet pattern will include a bit of information about gauge and it may read something like this:
16 dc and 8 rows is 4 inches
That’s a gauge I use quite often, actually. For the sake of the example, we’ll assume the pattern calls for a 4mm hook and Stylecraft Special DK yarn because that’s usually what I’m using with this gauge.
When you have all the relevant information (gauge, hook size, yarn type) make a swatch as described in the gauge – in this example 16 dc wide and 8 rows long.
To do this, go back to when you first learned crochet and make some very simple rows of dc (remember, your pattern’s gauge may call for another stitch, it’s not always dc but it is fairly common). You’ll ch 18, then dc in the 4th ch from the hook and in each ch after that. Turn. Ch3 to count as your first dc and then dc in each of the next 15 dc. Keep going until you have 8 rows.
Great! Your swatch is made. Now… measure it. If you’re lucky you’ll get the same – or close to the same – measurements as the gauge from the pattern and you can jump right in. But, sometimes you’ll find one or both of them are a little bit off. Now it’s time to go to the two steps to get your gauge right.
STEP 1 – Get the width right

To adjust the width of your gauge swatch just go up or down a hook size. You can try two hooks sizes if you’re way off. This can affect your height measurement too and may be enough to get your gauge right. So make sure and remeasure the height before proceeding to step 2.
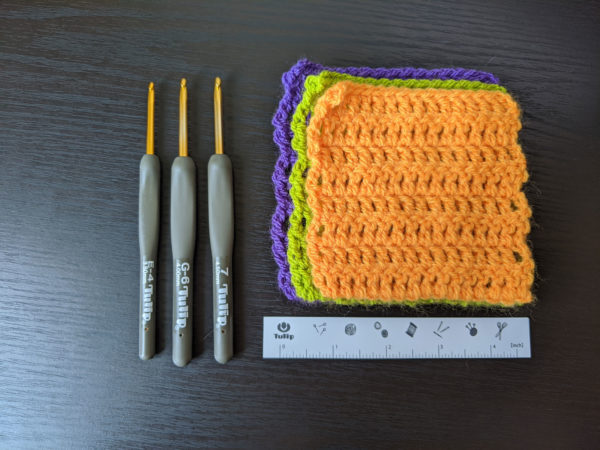
In the pictured swatches I used Stylecraft Special DK yarn for all of them, but each was made with a different hook size (3.5mm, 4mm, and 4.5mm). You can see I got slightly different width and height measurements for each.
STEP 2 – Get the height right

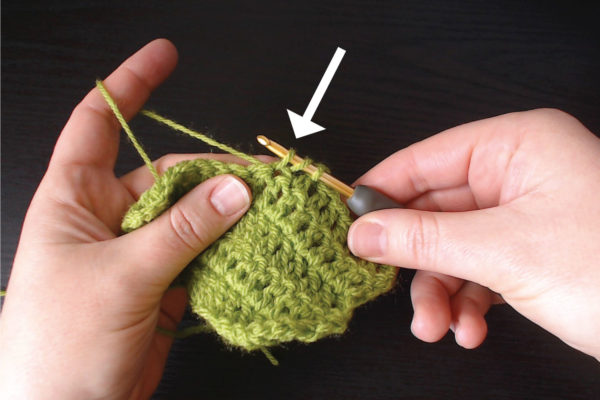
To adjust the height of your gauge swatch you’ll need to think a bit about how you make a stitch. Here’s the key part to identify: insert your hook into the next st, yarn over and pull up a loop.
Stop before completing the stitch. Everything comes down to that loop you just pulled up through the stitch. If your gauge is too short you need to pull that loop higher before completing your stitch. If your gauge is too tall you need to pull that loop tighter before completing your stitch.
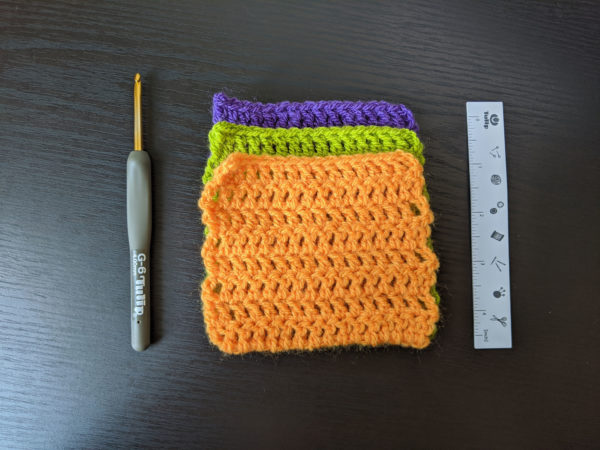
In the orange swatch above I pulled that loop tighter than I’m used to doing. The green swatch is where I normally crochet. And, for the purple one I pulled the loop taller than I normally do.
Watch the video tutorial above to see this in action.
Hint: you may see this referred to by other crocheters as yanking, riding, and lifting, but I don’t find that memorizing the terms is all that helpful. Instead, my advice is to just focus on how tall your stitches are coming out.

It doesn’t matter what stitch you’re making or how many times you yarned over before inserting your hook. All that matters is how high you pull up that loop. This is where your control over the height of your gauge lies.
This might sound difficult, but with a bit of patience you can train yourself to adjust the way you pull that loop to get the right gauge. Go ahead and give it a try for a few rows. Pretty soon you won’t have to think about it anymore.
Just remember, once you’re in the habit of making taller or shorter stitches, you may need to adjust your gauge again for the next project. I recommend bookmarking this post for when that times comes.
The best way to keep up with my goings-on is to follow Every Trick on the Hook on Facebook. You can also message me there, post on the wall, and follow my posts for the latest news.
If you’re looking for a more interactive Facebook experience, join the Polly Plum Pattern Posse Facebook group. We’re a fun and supportive group. Really! There’s so much help there that chances are your question will be answered by someone before I even see it. It’s the best place to go with a question. It’s also a great place to share your Polly Plum makes and see what others are making.
If Facebook isn’t your thing you can also join the Ravelry group – Polly’s Place or follow @polly_plum_crochet on Instagram

Leave a Reply