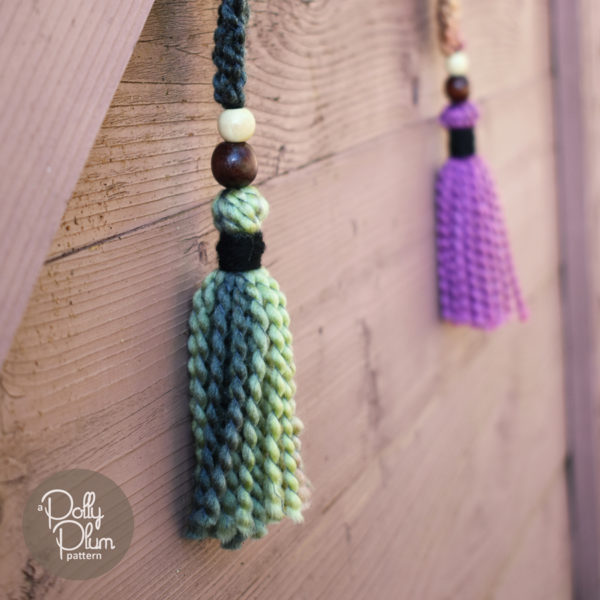
If you want to make a tassel out of specific yarn or in a specific color to match a project, here’s a photo tutorial for you.
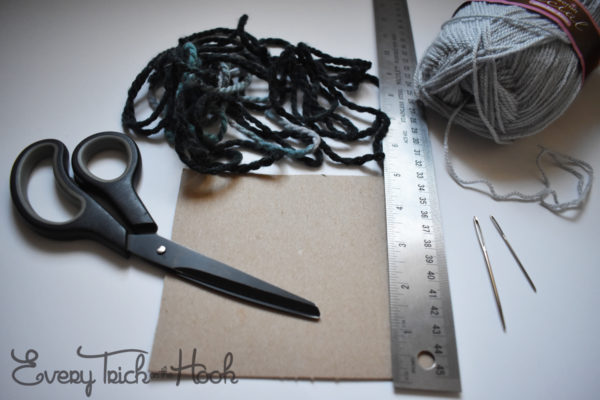
Step 1. Gather your materials:
- yarn, the main yarn for the tassel
- yarn for wrapping and tying your tassel – you can use the same yarn as the main yarn, but if you’re worried you won’t have enough, pick any coordinating yarn, preferably something that isn’t too chunky
- a piece of cardboard (or some other flat sturdy material you can wrap yarn around, junk mail is a great option) cut to size – I’ve cut a piece of cardboard to about 5 inches
- Scissors
- yarn needle sized appropriately for the yarn you’ll be using to wrap
- ruler if you want to measure that cardboard for cutting or if you want to measure your tassels to trim them
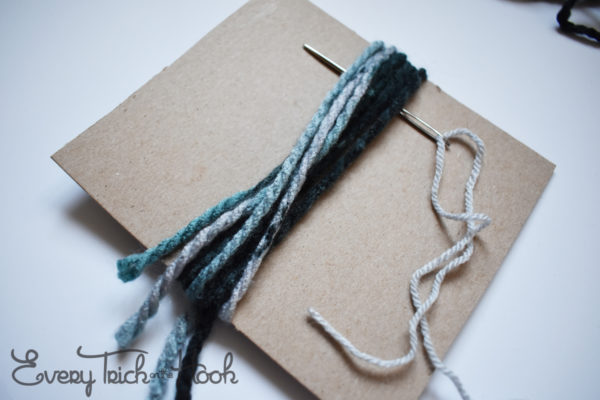
Step 2. Wrap your yarn around the cardboard. Don’t make it tight or loose, just wrap it. Make sure and count! You’ll want to use the same number of wraps if you’re making multiple tassels for a single project.
Notes: It’s hard to say how many times to wrap. In the photo at the top of this page I wrapped some Aran weight (it may have been slightly heavier than that, honestly) 17 times and got a great size. In the tutorial here I wrapped chunky yarn 10 times and they’re a little light for me. Both times that was all the yarn I had.
If you have a limited amount of yarn to use, start by wrapping ALL of the yarn around the cardboard being sure to count how many wraps you get then divide the number by how many tassels you want. Then take the yarn off and use that number to make each tassel.
Don’t be afraid to use every piece of yarn you have like I did in the picture below. I used all of my scraps and just barely got the two tassels I needed for this project. Just make sure that the piece of yarn goes all the way around the cardboard at least once with at least a smidgen extra to trim later.
Step 3. Cut a piece of your spare yarn about 12 inches (or the main yarn if that’s what you’re using) and thread it on to a yarn needle. This is the yarn you’ll use to attach your tassel to your project so make sure it’s long enough for your use. Then, run that needle under the wraps of yarn that are on the cardboard.
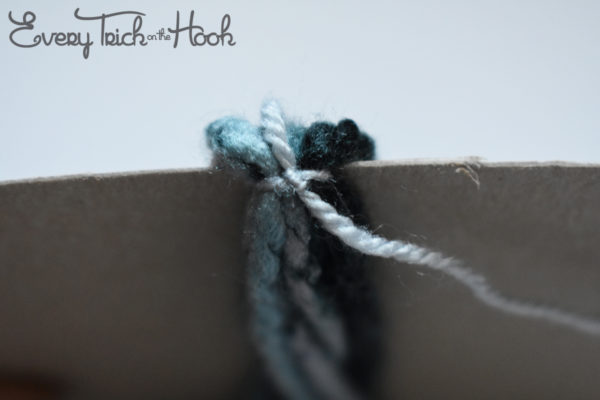
Step 4. Ditch the yarn needle. Slide the piece of spare yarn up to the top of your cardboard and tie and secure knot (double knot that baby) around all the strands of wrapped yarn.
Step 5. Now, go to the bottom end of the cardboard and cut the wrapped yarn.
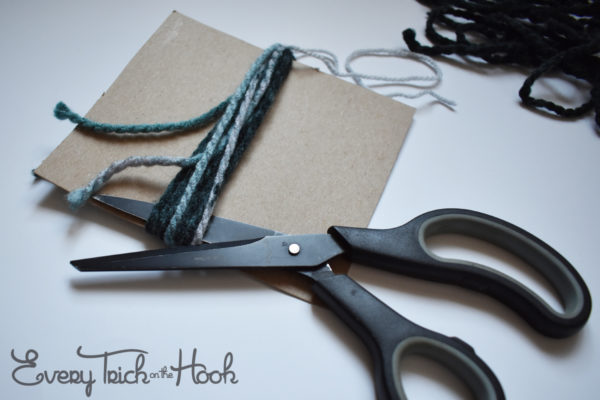
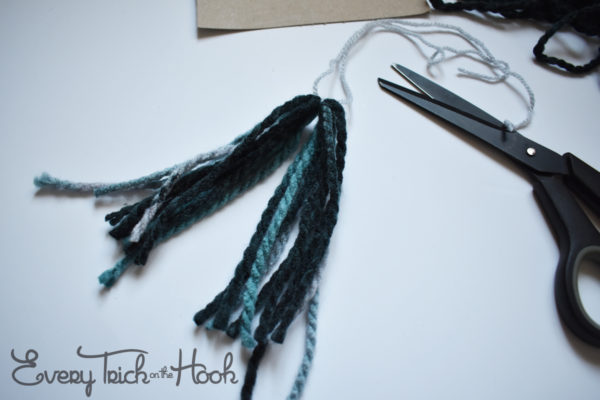
Step 6a. Cut another piece of your spare yarn about 18 inches or so. I give myself plenty to be safe. Holding all the strands of your tassel together, start wrapping the spare yarn around them about an inch down from the knot.
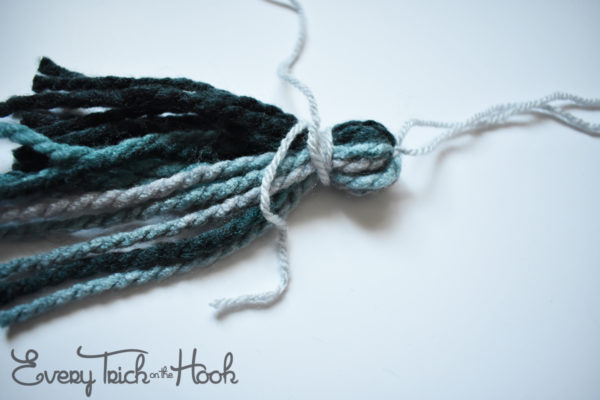
Step 6b. Wrap and wrap and wrap up towards the knot and then wrap and wrap back down until you have covered a small area and the strands are held firmly in place. Knot the wrapped yarn.
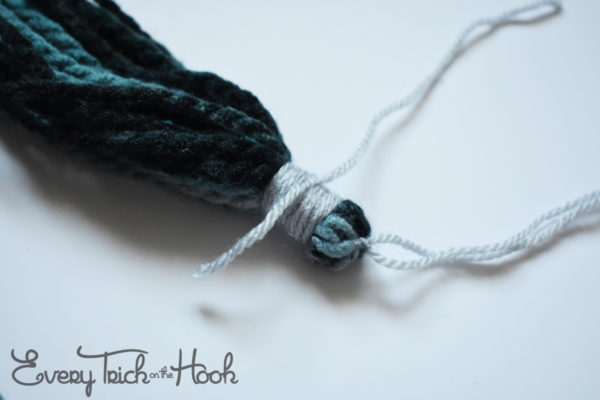
Step 7. Thread the ends of your spare yarn on to your needle and push your needle through the wrap and down into the middle of your tassel strands. Trim the spare yarn short, or, if you’re using the same yarn to wrap as you used for the tassel strands you can leave it long and let it become part of the tassel.
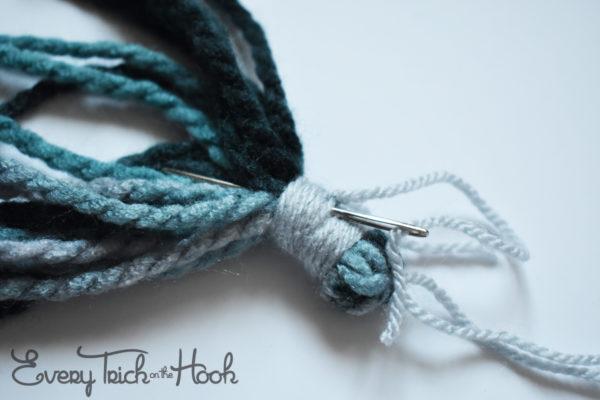
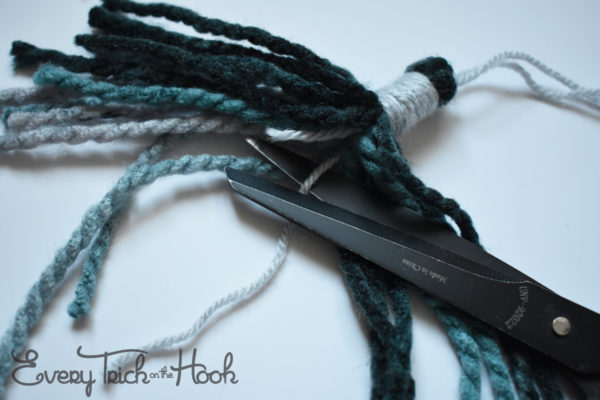
Step 8. Trim the strands of your tassel to even them out.
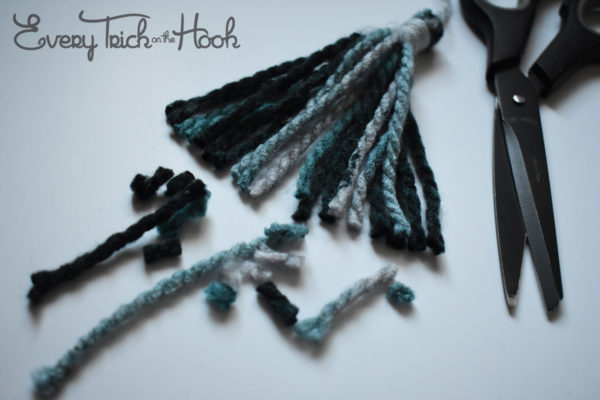
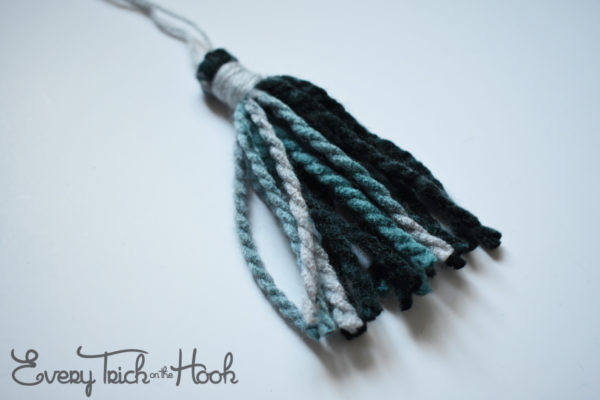
You’re done! Attach your tassels to your project!
If you’d like to show your support and/or say thank you for this free pattern – the most helpful thing you can do is share a picture of your work on Ravelry or Facebook. Seriously! That’s it. If you liked the pattern, tell your friends and show them what you made.
If you’d like to see more of my work, visit the Patterns page here on Every Trick on the Hook or my Ravelry store.
The best way to keep up with my goings-on is to follow Every Trick on the Hook on Facebook. You can also message me there, post on the wall, and follow my posts for the latest news.
If you’re looking for a more interactive Facebook experience, join the Polly Plum Pattern Posse Facebook group. We’re a fun and supportive group. Really! There’s so much help there that chances are your question will be answered by someone before I even see it. It’s the best place to go with a question. It’s also a great place to share your Polly Plum makes and see what others are making.
If Facebook isn’t your thing you can also join the Ravelry group – Polly’s Place or follow @polly_plum_crochet on Instagram.
