Get the premium pattern PDF now on Ravelry.
Or, get the premium pattern PDF on Etsy.
Video Tutorials
Rounds 12 through 16:
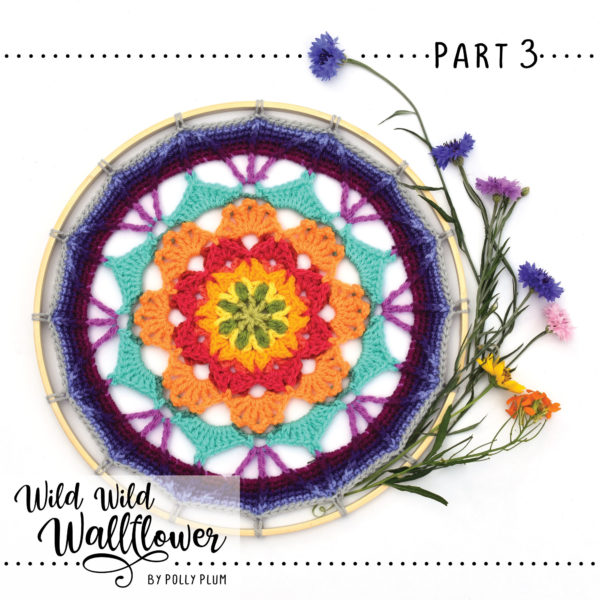
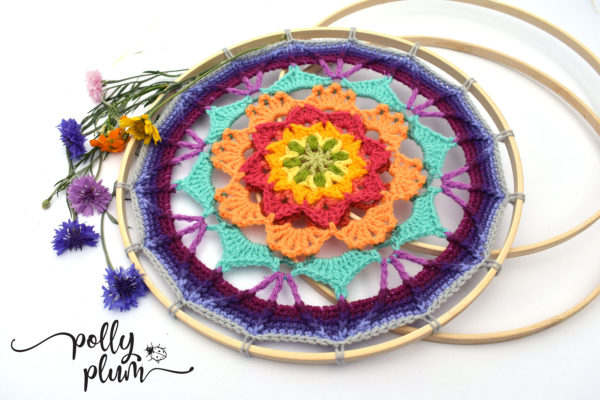
Round 17, attaching to the hoop:
Notes
Details
Crochet Terminology: US
Skill Level: Intermediate
Stitches used: A wide and exciting variety, be prepared for anything!
Sizes: 12 inch/30cm circle
Hook size: 3.5mm or size needed for gauge
Gauge: 3 inches through round 4
Additional materials: 12” floral hoop or embroidery hoop, yarn need, scissors, ruler
Yarn: Sample uses scraps of Stylecraft Special DK, any DK scraps should work as long as your gauge is close
Abbreviations
- ch – chain
- dc – double crochet
- hdc – half double crochet
- r(#) – round number
- sc – single crochet
- sk – skip
- slst – slip stitch
- sm – stitch marker
- sp – space
- st– stitch
- tr – treble crochet
- yo – yarn over
Special Stitches
fpdc – {front post double crochet} just like regular dc, but instead of inserting your hook in the top two loops of indicated st, insert from front to back around the post of the st
Standing sc – with slip knot on hook, insert hook into indicated stitch, yo and pull up a loop, yo and pull through 2 loops on hook
Sizing
I promised some wiggle room with sizing your mandala to fit into the hoop. So, here’s what you do:
If your mandala seems too small it probably isn’t. These are going to stretch a LOT to fit in the hoop, and that’s good because it keeps the mandala from sagging in the hoop.
If your mandala seems too big you can leave off as many rounds as you need to between round 14 and 16 and just go straight to attaching your mandala to the hoop with round 17.
Measure you mandala as you go. 9.5 to 10 inches, not stretched, is perfect. Work through round 13, then add rounds 14 – 16, measuring as you go and stop when your mandala is within those measurements and then go to round 17 to attach it to the hoop.
Pattern
Round 12
Work only into r11 ch sps.
With new yarn: Standing sc in any ch4 sp immediately after an sc.
Or, with same yarn: Slst into next ch4 sp, ch1 and sc in same sp.
4 more sc into same ch4 sp. *^[3sc in next ch2 sp] twice,^ [5sc in next ch4 sp] twice.*
Repeat from * to * 6 times more and from ^ to ^ once more. 5sc in last ch4 sp. Slst to first sc to join.
128 sc around
Round 13
Do not skip any sts behind fpdc this round.
With new yarn: Standing sc in same sc as join.
Or, with same yarn: Ch1 and sc in same sc as join.
Sc in each of the next 3 sc.
*^[Fpdc around next r11 tr, sc in each of next 4 sc] twice, fpdc around next r11 tr, sc in each of next 4 sc, fpdc around next r11 sc,^ sc in each of next 4 sc.*
Repeat from * to * 6 times more and from ^ to ^ once more. Slst to first sc to join.
160 sts around (32 fpdc, 128 sc) {st counts same through r16}
Hint: keep track of where you’re at in rounds 14 – 16 by watching the two fpdc that are straight – the one that aligns with the r10 picot and the one that aligns with the center r11 tr. These two fpdc are always worked around the below fpdc and no sc are skipped before or after them. They are your markers to know that your stitch counts are correct.
Tip: If you’re having trouble finding the correct st to sk, count backwards from the fpdc.
Round 14
With new yarn: Standing sc in same sc as join.
Or, with same yarn: Ch1 and sc in same sc as join.
Sc in each of next 2 sc.
*^Sk next sc, (fpdc, sc) in next fpdc, sc in each of next 4 sc, fpdc around next fpdc, sc in each of next 4 sc, (sc, fpdc) in next fpdc, sk next sc, sc in each of next 3 sc, fpdc around next fpdc,^ sc in each of next 3 sc.*
Repeat from * to * 6 times more and from ^ to ^ once more. Slst to first sc to join.
Round 15
With new yarn: Standing sc in same sc as join.
Or, with same yarn: Ch1 and sc in same sc as join.
Sc in next sc.
*^Sk next sc, (fpdc, sc) in next fpdc, sc in each of next 5 sc, fpdc around next fpdc, sc in each of next 5 sc, (sc, fpdc) in next fpdc, sk next sc, sc in each of next 2 sc, fpdc around next fpdc,^ sc in each of next 2 sc.*
Repeat from * to * 6 times more and from ^ to ^ once more. Slst to first sc to join.
Round 16
With new yarn: Standing sc in same sc as join.
Or, with same yarn: Ch1 and sc in same sc as join.
*^Sk next sc, (fpdc, sc) in next fpdc, sc in each of next 6 sc, fpdc around next fpdc, sc in each of next 6 sc, (sc, fpdc) in next fpdc, sk next sc, sc in next sc, fpdc around next fpdc,^ sc in next sc.*
Repeat from * to * 6 times more and from ^ to ^ once more. Slst to first sc to join.
Round 17
Note: if you haven’t woven any ends yet, now is the time! You’ll be fastening the last round to the hoop and you don’t want to weave after everything is attached. Trust me.
With new yarn: Standing sc in same sc as join.
Or, with same yarn: Ch1 and sc in same sc as join.
Sc in each of next 8 sts.
*^Sc in next fpdc AND around hoop together {keep tension tight! See video tutorial above to see how this is done},^ sc in each of next 9 sts.*
Repeat from * to * 14 times more and from ^ to ^ once more. Slst to first sc to join. Fasten off.
160 sc around
That’s it! Weave those last two ends and your mandala is ready to hang on your wall!
I hope you enjoyed this CAL as much as I did and that you’ll stay tuned for the next one (which is going to be a much bigger project!).
Thanks for playing along with me!

Credits
Original crochet pattern design – Polly Plum
Photography and graphic design – Polly Plum
Testers:
Ann Downey
Leanne O’Connell
Paulina Smith
Jan White
If you’d like to show your support and/or say thank you for this free pattern – the most helpful thing you can do is share a picture of your work on Ravelry or Facebook. Seriously! That’s it. If you liked the pattern, tell your friends and show them what you made.
If you loved the pattern and want to make more, check out the Patterns page here on Every Trick on the Hook or my Ravelry store.
The best way to keep up with my goings-on is to follow Every Trick on the Hook on Facebook. You can also message me there, post on the wall, and follow my posts for the latest news.
If you’re looking for a more interactive Facebook experience, join the Polly Plum Pattern Posse Facebook group. We’re a fun and supportive group. Really! There’s so much help there that chances are your question will be answered by someone before I even see it. It’s the best place to go with a question. It’s also a great place to share your Polly Plum makes and see what others are making.

Leave a Reply